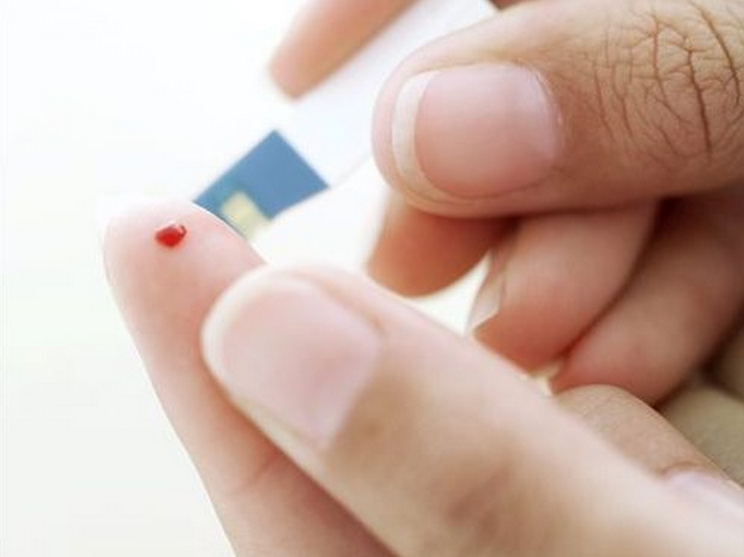
Home blood glucose testing is a safe and affordable way to detect diabetes before it becomes a health issue.
Diabetes, especially in the early stages, does not always cause symptoms. Almost half of people with the disease don't know they have it.
For people already diagnosed with diabetes, a simple diabetes home test is vital in the management of blood sugar levels. It could even be lifesaving.
1. How to test for diabetes at home
Home blood glucose monitoring is designed to offer a picture of how the body is processing glucose.
A doctor might recommend testing at three different times, and often over the course of several days:
Morning fasting reading: This provides information about blood glucose levels before eating or drinking anything. Morning blood glucose readings give a baseline number that offers clues about how the body processes glucose during the day.
Before a meal: Blood glucose before a meal tends to be low, so high blood glucose readings suggest difficulties managing blood sugar.
After a meal: Post meal testing gives a good idea about how your body reacts to food, and if sugar is able to efficiently get into the cells for use. Blood glucose readings after a meal can help diagnose gestational diabetes, which happens during pregnancy. Most doctors recommend testing about 2 hours after a meal.
For the most accurate testing, people should log the food they eat, and notice trends in their blood glucose readings. Whether you consume a high or low carbohydrate meal, if your blood sugar reading is higher than normal afterwards, this suggests the body is having difficulty managing meals and lowering blood glucose.
After consulting a doctor about the right testing schedule and frequency, people should take the following steps:
Read the manual for the blood glucose monitor and testing strips. In most cases, testing strips should only be inserted into the monitor immediately before a reading.
Wash and dry hands.
Cleanse the testing area with an alcohol swab. Some glucose monitors allow testing on the arm or another area of the body that is less sensitive.
If testing on the finger, test on the side of the finger, and use different fingers with each test. Most lancets allow the user to set how far it penetrates the skin. People with thicker or drier skin should set the penetration higher.
Position the finger against a firm surface, before lancing.
Squeeze the finger while holding it at chest level, and allow a drop of blood to flow onto the test strip.
Note the blood glucose reading and record it.
Some people with diabetes use an alternative blood test for glycated hemoglobin (HbA1c). The testing procedure is largely the same, but will produce different readings. Sometimes known as A1c, this test provides a picture of blood sugar readings over several weeks.

2. Interpreting diabetes home test results
For most people, blood sugar readings should be as follows:
Fasting (morning testing or before a meal)
Without diabetes: 70-99 milligrams per deciliter (mg/dl).
Target for people with diabetes: 80-130 mg/dl.
Two hours after meals
Without diabetes: Below 140 mg/dl.
Target for people with diabetes: Below 180 mg/dl.
HbA1c
Without diabetes: 5.6 percent or lower.
Target for people with diabetes: 7.0 percent or lower.
Target numbers may vary from person to person and may change over time depending on health, age, weight, and other factors. Before beginning home testing, it is important to get clear guidelines about target figures from a doctor.
Diabetes cannot be diagnosed solely by home testing. People with unusual readings will need further testing by a doctor.
Tests might include fasting tests, tests following consumption of a glucose solution, HbA1c tests, or a combination of these.
3. Choosing a blood glucose monitor
A blood glucose monitor, testing strips, and a lancet to draw the blood are all necessary for testing. Some testing kits offer all three, while others require purchasing each piece separately.
People should consider the cost of testing strips as well as the monitor itself, since people with diabetes use many testing strips. Some other tips for buying a monitor include:
selecting one with automatic coding
checking insurance plans to see if the insurer only covers certain monitors
looking at whether the unit stores previous data
considering portability, since larger units can be harder to carry
weighing blood sample size, particularly for people who do not like pricking themselves
Monitors that use a smaller sample size will also use a less painful stick.